Print or Embroider Wholesale Corporate Uniforms?
By The Velocity Wear Team
Embroidery suits a compact chest mark on a collared garment and survives heavy laundering better than anything else. Printing suits detailed, multi-coloured or large artwork, and it sits flat so it does not add bulk. Most uniform programmes end up using both across different pieces, and five methods are available in total.
Which method belongs on a chest logo?
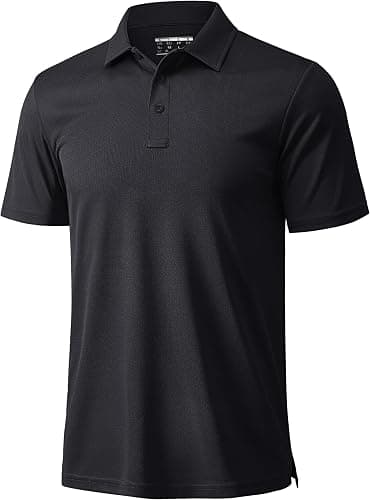
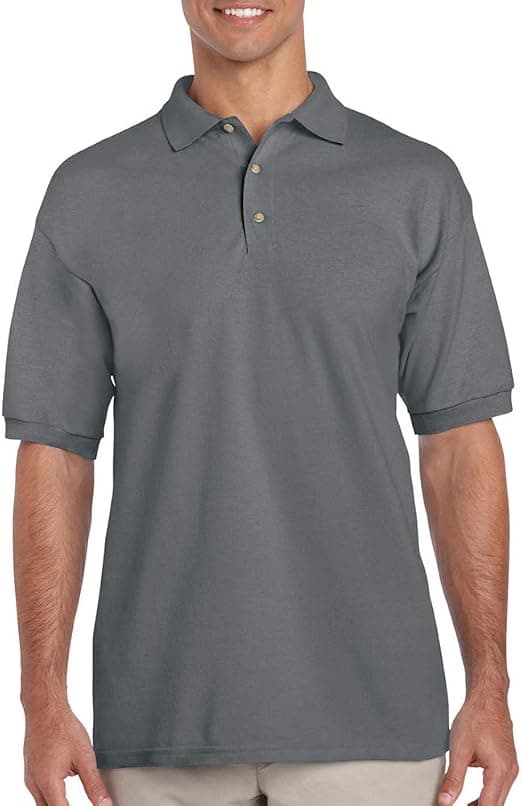
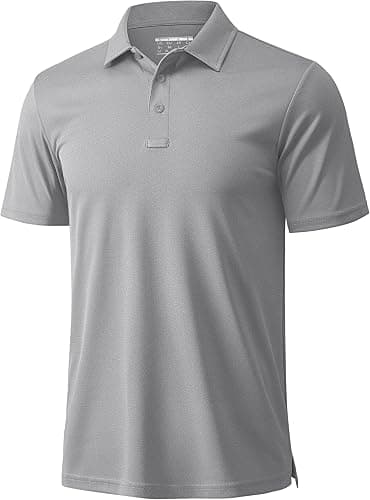
For a small mark on a shirt or polo, stitch is the default. It reads as considered rather than applied, it holds its edge through hundreds of washes, and it has a finish that suits a collared garment. The limit is detail: very fine lines, small type and tight gradients do not survive being rendered in thread at chest size.
Where the mark has that kind of detail, print is the better answer even on a collared piece. The test is simple — shrink the artwork to roughly ten centimetres wide and look at what disappears. Whatever is unreadable at that size will be unreadable in thread. The uniforms range covers which methods apply to which garment types.
Where does print beat stitch?
Anywhere the artwork is large, photographic, detailed or full of colour. A back panel with a slogan, a full-width graphic, or a design with tonal shading are all print jobs. Screen printing handles high volumes of a fixed colour set efficiently; DTF handles many colours and fine detail without the screen count climbing.
- Screen printing: strong on volume, best where the colour count is low and fixed.
- DTF: handles detail and many colours without a screen per colour.
- Embroidery: the durable choice for compact marks on collared pieces.
- 3D puff: raised stitch for a bold, simple shape, usually on caps or outer layers.
- Sublimation: bonds into polyester, so the graphic has no hand feel at all.
What about aprons and outer layers?
Aprons take either, and the choice is usually about scale. A large printed logo across a bib reads from across a room; a small stitched badge reads at the counter. Heavy apron canvas supports dense stitch well, so embroidery is a genuine option here rather than a compromise.
Outer layers lean toward stitch, partly for durability in weather and partly because a large print on a technical shell can affect how the fabric behaves. Where a big visible mark is needed on an outer layer, a stitched badge or an applied patch often does the job better than print.
Can one order mix both?
Within one design, yes — a stitched chest mark and a printed back panel on the same garment is a common specification, and each position is quoted as its own decoration. Across designs, remember that each garment type is still its own run of 50, so a printed apron and a stitched shirt are two orders regardless of how the decoration is split.
Pricing follows the work rather than the method name: colour count, stitch density and the number of positions are what move the per-piece figure, and the tiers are set out on the pricing page. If you want a method-by-method decision path, which printing method should you choose walks through it, and the direct comparison is in screen printing vs embroidery on corporate uniforms.
A last consideration is how the garment gets worn rather than how it looks folded. A chest mark that sits beautifully on a flat shirt can end up half-hidden behind an apron bib, and a back graphic can be covered for most of a shift by an outer layer. Walk through a real shift mentally before fixing positions: who wears what over what, and what is visible when someone is at a counter, behind a till, or facing away from the room. Position is free to get right at proof stage and expensive to fix afterwards. Measuring it on a garment you already own takes about a minute and settles the question properly.