Bulk Corporate Uniforms for Trades: A Buyer's Guide
By The Velocity Wear Team
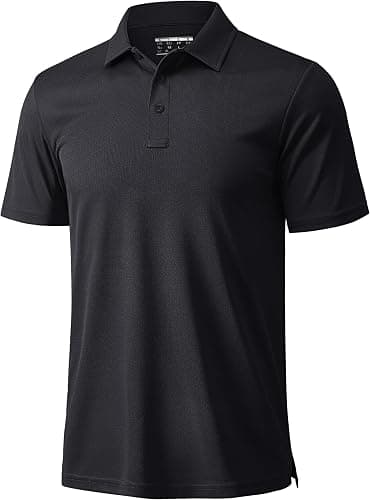
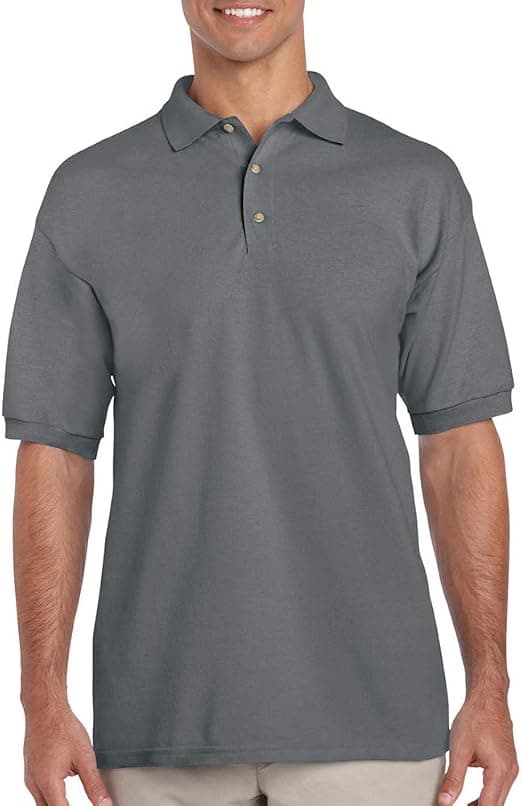
Trades kit is bought as a layering system rather than a single garment: a base layer worn all day, a mid layer for most of the year, and an outer layer that lives in the van. Each design runs from fifty pieces, from $20 a piece upward, and the decoration has to be chosen for abrasion rather than for how it photographs.
What does a trades uniform have to survive?
Abrasion at the forearms and shoulders, repeated hot washing, and being pulled on and off over other clothing several times a day. That combination kills surface decoration faster than any other working environment we supply. Embroidery on a chest position and a larger stitched or printed mark on the back is the pattern that holds up.
It also has to survive being left in a van overnight and worn again in the morning. Garments that crease badly or hold damp get abandoned, and an abandoned uniform is a wasted order regardless of what it cost. The specification thinking in construction workwear: specifying for the site goes deeper on that point.
How should the layers work together on site?
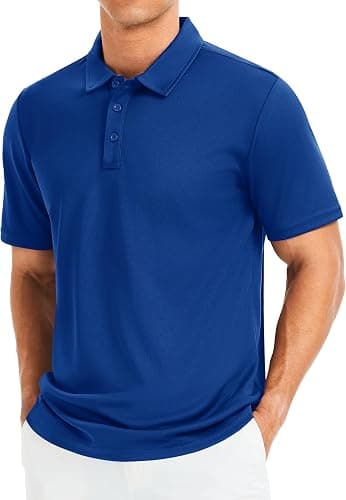
Size them as a set. A mid layer that is cut too close over a base layer will not be worn, and an outer layer that swamps a smaller crew member is equally useless. Order the base layer with the fullest size range and keep the outer layers a little more generous, because they go over everything else.
Keep the branding consistent across all three so a crew reads as one team whichever layer is on top. Shirts, polos, aprons and outer layers run as one programme on our wholesale uniforms page, with each design counted separately against the fifty-piece minimum.
Where should the logo go on site clothing?
- Left chest, because it stays visible under a hi-vis vest and above a tool belt.
- Upper back, high enough to sit above the line of a harness or a rucksack strap.
- Sleeve, for a secondary mark such as an accreditation or a division name.
- Nowhere near the lower front, which is covered by a belt on most of the crew most of the time.
Those placements matter more on site than anywhere else, because half of what you print is hidden by something the crew is legally required to wear over it. Decide placement against the full kit, not against a flat garment.
How do you budget kit for a crew?
Count heads, multiply by the number of each layer a person needs through the year, then round up to the nearest fifty per design. A crew of eighteen needing three base layers each is already fifty-four pieces, which is one order in the opening tier. The construction and trades page covers what we usually supply alongside it.
Budget replacement into the same order rather than the next one. Site clothing wears out, and holding spare base layers in the middle sizes is far cheaper than triggering a fresh run of fifty in six months. The tiers, running from 50–99 up to 1,000 and beyond with up to 35% off the fifty-piece price, are on the pricing page.
Check the branding decision against whatever the site requires on top of it. If crews wear hi-vis over the base layer for most of the day, a chest mark on the shirt underneath is doing very little work, and the money is better spent on decorating the garment that is actually visible. That is a site-by-site judgement rather than a rule, and it changes between a fit-out job indoors and groundworks on a live site. Walk through a typical day and ask which layer is on top at each point, then put the branding budget where it will be seen.