Artwork Setup for Custom Jackets & Outerwear
By The Velocity Wear Team
Send vector artwork with the fonts outlined, one file per placement, with the finished size in millimetres and the colour references written down. AI, EPS, PDF and SVG all work. If vector genuinely does not exist, a 300 DPI raster at final print size can be usable. Everything after that is our side: digitising for stitch, separations for screens, and a proof for you to approve.
What file should you send for a jacket?
Vector, in almost every case. A vector file scales from a sleeve badge to a full back panel without losing an edge, and it separates cleanly into screen colours. Outline the fonts before sending, because a licensed typeface that is not installed on our machines will silently substitute and nobody notices until the proof. Send each placement as its own file rather than one artboard with everything on it, and name the files after the position. If all you have is a logo lifted from a website, say so early rather than hoping, since a 600 pixel PNG will not survive a back print. Preparing artwork files for custom clothing printing goes through the formats in detail.
How is a logo prepared for stitch?
It is rebuilt. Digitising converts your shapes into a stitch path, with decisions made about direction, density, underlay and the order in which areas are filled. Those decisions are what stop a logo puckering a softshell panel or closing up a small counter in a letterform. Fine detail is the usual casualty: thin outlines get thickened or dropped, and very small text is simplified. Expect to see a stitch-out or a digital proof before production, and expect it to differ slightly from your print logo, because thread and ink are not the same medium and pretending otherwise leads to disappointment later.
What happens at the artwork approval stage?
You get a proof showing the placement, the finished dimensions and the colours as they will be reproduced. Read it as a specification rather than a picture. Check the size in millimetres against a tape measure on a garment you already own, check the spelling of every word including the ones you wrote yourself, and check the placement against the zip, the seams and the pocket. When you reply with approval, the 10 to 15 working day build starts and the specification is locked. Changes after that point are covered in can I change my order after approving artwork, and the short version is that they cost time.
Which mistakes send artwork back?
- Raster logos pulled from a website, too small to print at the requested size.
- Live text in the file, so the font substitutes on our machine.
- RGB colour values with no printable reference attached.
- A back graphic specified in pixels with no finished size in millimetres.
- Generated images with soft edges that will not separate into screens.
That last one has become common. Images produced by a generator tend to have blurred boundaries, invented lettering and a resolution that collapses when enlarged, and they need rebuilding before they can be used on a garment. Why your AI-generated design will not print explains what has to happen to make one production-ready.
Does artwork preparation cost extra?
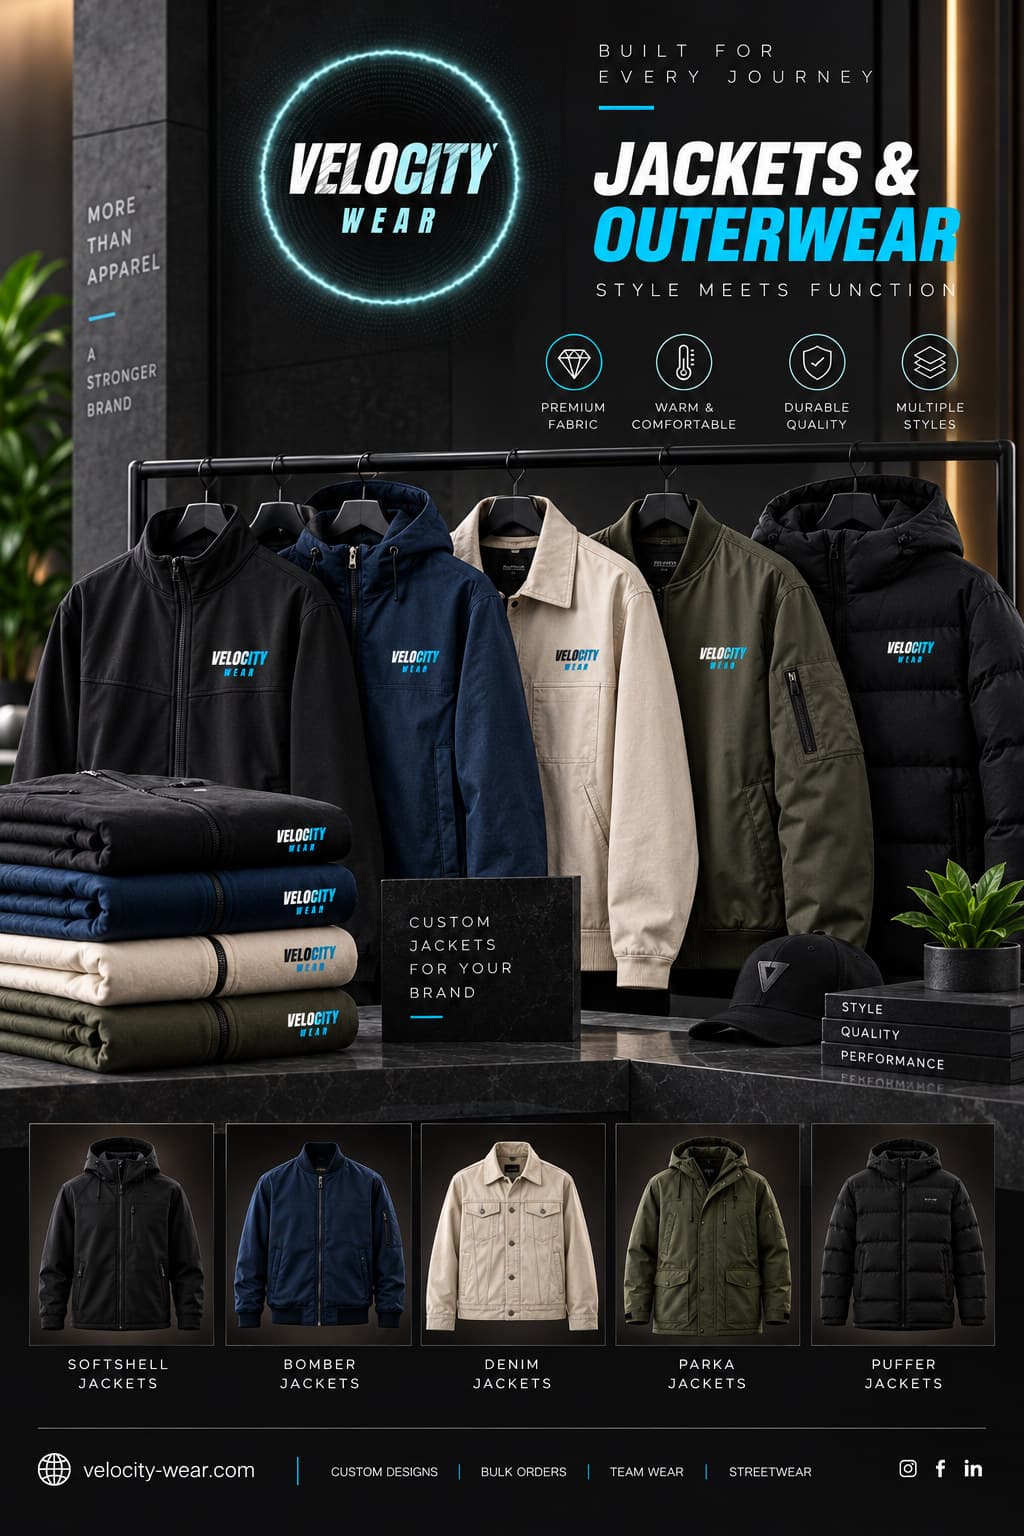
Standard preparation is part of getting your order onto the machines. Substantial redrawing of a logo that only exists as a low-resolution image is a bigger piece of work and is quoted when it comes up, so it is worth asking at enquiry stage rather than being surprised. The order structure around it does not move: 50 pieces per design, 10 to 15 working days from approval, and quantity discounts to 35% as set out on the pricing page. The jackets and outerwear range lists the styles each placement can be applied to.