Artwork Setup for Custom Caps
By The Velocity Wear Team
Send vector artwork — AI, EPS, PDF or SVG — with the type converted to outlines and the colours named. For embroidery that file is then digitised into a stitch path, which is a rebuild rather than a conversion. Approval of the resulting proof is what starts the 10 to 15 working day production window, so treat it as the decision point rather than a formality.
What file should you send?
Vector, at any size, with fonts outlined so nothing substitutes on our machines. If all you have is a raster file, it needs to be large and clean — a logo lifted from a website header at 200 pixels wide cannot be rescued by enlarging it, and will be redrawn by hand before anything else happens. Name your colours rather than leaving them to be picked off screen; a Pantone reference gives us a target even though thread is not ink. The file requirements across all our products are covered in preparing artwork files.
How does a logo get redrawn for a cap front?
Digitising turns your outlines into a sequence of stitches: direction, density, underlay, pull compensation. It is a craft decision, not a file export, and it is where fine detail is lost or kept. A mark that works at business-card size on paper may need its thinnest strokes thickened to survive in thread. Lettering under about 5mm high usually gets enlarged or removed. Small enclosed shapes — the counter of an 'a', a gap between two letters — close up if left as drawn, so they get opened out. You will see all of this on the proof, and that is what you are approving.
What does the curved panel do to your design?
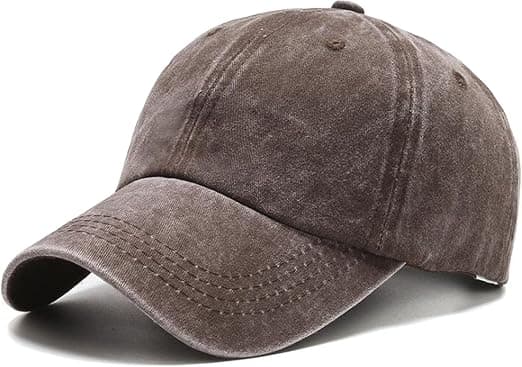
A cap front curves in two directions and, on a six panel, is split by a centre seam. Wide artwork therefore bends away from the viewer at the edges and can straddle the seam, which distorts anything symmetrical. Two practical responses: keep the mark under about 70mm wide so it stays on the flat part of the panel, or move to a five panel cap where there is no centre seam to cross. Circular badges are the most exposed to this, since any bend reads immediately as an oval.
How do you approve it?
You will get a proof showing size, position and thread colours. Check the dimensions in millimetres against the physical cap rather than judging from a screen, because a proof at screen scale always looks larger than the real thing. Confirm the position relative to the peak and the seam. Once you approve, changes mean restarting the setup, so it is worth taking the extra day before rather than the extra week after. If the logo started life in an image generator, read why your AI-generated design will not print before you send it. Cap styles and from-prices are on wholesale caps, and the quantity bands on pricing.
What if the logo only exists as a photograph?
It happens more than you would think — a business with a sign outside, a crest on an old shirt, a design somebody's cousin made in 2011 and has since lost the file for. The route is the same in every case: the mark gets redrawn as vector by eye, you approve the redraw, and only then does digitising begin. Build an extra few days into your timeline for that round, because it is a judgement process and the first attempt rarely lands exactly. Photograph the source as squarely and as evenly lit as you can — a picture taken at an angle produces a redraw with the same lean baked in. If you have any print material with the logo on it, send that too; a clean printed version gives far more to work from than a screen grab.