Print Placement on Hoodies
By The Velocity Wear Team
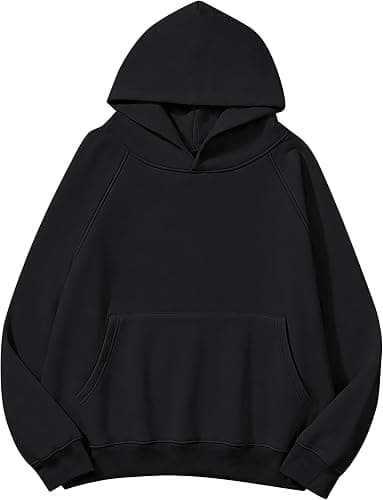
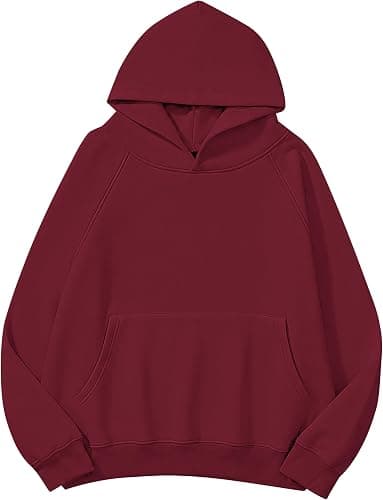
A hoodie has less usable print area than a t-shirt, because the pouch pocket takes the lower front and the hood interrupts the top of the chest. The positions that work are left chest, centre chest above the pocket, full back, upper back yoke, and the sleeve. Anything that crosses the pocket seam or the hood seam will distort, and no printer can fix that after the fact.
Which positions actually work on a hoodie?
Left chest is the workhorse, sitting roughly a hand-width down from the shoulder seam and in line with the armhole. It is where embroidery goes and where a staff logo belongs. Centre chest works if the artwork is kept above the pouch pocket, which on most blocks leaves a usable band rather than a square. Full back is the biggest area you have and the one that reads across a room. Upper back, just under the hood seam, suits a single word or a small wordmark. Sleeve prints run down the outer arm and are limited by how narrow the sleeve is at its smallest size.
The hood itself is difficult. A print across the hood crosses a curved seam and the fabric moves when the hood is up, so the artwork distorts in use. Printing on the hood lining works better, because it is flat and it only shows when the hood is down, which is a deliberate detail rather than a compromise.
How big should the artwork be?
Left chest normally sits between 80 and 100 mm wide. Go smaller and a logo with fine detail stops resolving in thread or ink; go much larger and it stops reading as a chest mark and starts looking like a misplaced centre print. Full back prints commonly run 280 to 320 mm wide on adult sizes, which is close to the width of the panel between the side seams. Sleeve prints are usually 50 to 70 mm wide and as long as you like down the arm.
One size does not scale across a size run. A 300 mm back print that fills the panel on a large will crowd the seams on a small and float on a 3XL. Ask whether the artwork is being scaled per size band or printed at one size throughout, and decide which you want. For staff kit, one size throughout is usually fine. For retail, scaling by band is worth the extra setup.
Which decoration method suits which position?
Embroidery is the right choice for left chest and sleeve marks on fleece. It survives washing better than anything else and it sits well on a dense fabric. It does not handle gradients, very fine text or photographic detail, and it adds bulk that you can feel through a thin garment. Screen printing suits large flat-colour back prints and gets cheaper per piece as the quantity climbs, because the screens are a fixed cost spread across the run. DTF handles complex multi-colour artwork without a screen per colour, which makes it the sensible option for detailed graphics at the 50-piece minimum.
3D puff raises the ink off the surface and works well for bold lettering on a hood or chest, though it needs simple shapes to look right. Sublimation is not an option on a cotton-rich fleece, because it needs a polyester surface to bond to. The full list of methods and current pricing is on the wholesale hoodies page, and if you are weighing a large graphic against a placement mark, all-over print vs placement print sets out what each costs you.
What should the artwork file look like?
Vector, in the actual colours, at the size it will print. AI, EPS or PDF with outlined text, so no font substitution happens at the factory. If the artwork is raster, 300 dpi at final print size, with a transparent background if it is going on a coloured body. Send the Pantone references alongside it rather than relying on the file. Terms like underbase, registration and stitch count are all defined in the apparel glossary if a printer uses them back at you. For a gym or studio deciding between a printed and an embroidered version of the same mark, print or embroidery for gym hoodies compares the two side by side.