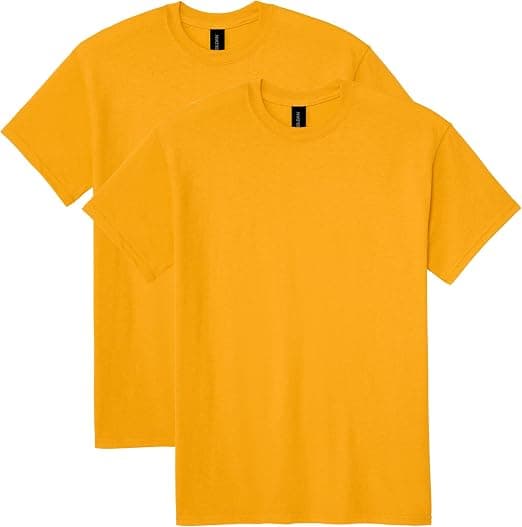
DTF Transfers vs Finished Custom Garments
By The Velocity Wear Team
DTF transfers get about sixty thousand US searches a month. Small businesses, Etsy sellers and side hustlers buy transfers and press them onto blanks at home. It's a great model for some sellers. For others, finished garments save time and money. Here's the honest comparison.
How DTF transfers work
You order printed transfers, often on gang sheets with many designs. You buy blank shirts. You heat-press each transfer onto a shirt at the right temperature, pressure and time, then peel the film.
When pressing your own makes sense
- You sell many designs in small quantities.
- You do on-demand orders and don't want finished inventory.
- You already own a good heat press.
- You enjoy the hands-on work, or have staff for it.
When finished garments make more sense
- You need 20 or more of the same design.
- Your time is better spent on marketing and sales.
- You want a custom blank, heavier fabric or custom labels.
- Consistency matters, like for staff uniforms or a brand drop.
- You don't want equipment, space and learning curve.
The hidden costs of DIY
- Heat press and maintenance.
- Blank shirts and shipping them in.
- Misprints and wasted transfers while learning.
- Your time per shirt.
- Inconsistent placement across batches.
Quality
A well-pressed DTF transfer is durable. Poor pressing leads to peeling. Consistency depends on the operator. Finished garments from a production facility are pressed with calibrated equipment and checked before shipping.
A hybrid approach
Many sellers press transfers for testing new designs and order finished garments for bestsellers. It's the same logic as print on demand vs bulk.
Do the math
Add transfer, blank, shipping, equipment amortization and your hourly value per shirt. Compare with a finished shirt on our price calculator.
Quick checklist
- How many of each design?
- Own a heat press?
- Value of your time?
- Need custom blanks or labels?
- Consistency required?
Setting up to press your own
Pressing DTF transfers well needs a quality heat press with even pressure and accurate temperature, a teflon sheet or parchment, a lint roller, and a system for consistent placement, such as a t-square or printed alignment guide. Follow the transfer supplier's exact time, temperature and pressure settings, and whether they specify hot or cold peel. Test on a spare shirt before a batch.
Placement consistency
The most common DIY problem is inconsistent placement: prints too high on small shirts and too low on large ones. Create a placement chart by size, measuring down from the collar seam. A production facility does this routinely; at home it's easy to skip and hard to fix.
Wash testing your pressed shirts
Before selling DIY shirts, wash a test shirt several times on a normal cycle. Check edges for lifting and the print for cracking. If transfers lift, it's usually pressure, temperature or time. Adjust and retest before customers find the problem for you.
Scaling up
Pressing ten shirts is quick. Pressing 200 is a long day. As orders grow, the time cost becomes significant. Many sellers keep DIY pressing for one-offs and custom requests while ordering bulk finished garments for proven designs.
Blank consistency
DIY sellers depend on blank availability. When a popular blank color sells out at the distributor, restocking can be delayed. Ordering finished garments made to your spec avoids that dependency for core products.
Get started
Minimum 20 per design, 10 to 15 working days from artwork approval. See custom t-shirts and our DTF printing explainer.