Building a Kit List for a New Team
By The Velocity Wear Team
Need this made?Get pricing for this product— free, no obligation, 50 pieces minimum.
A kit list is a written specification of exactly what each person receives, in what quantity, colour and decoration. Build it in that order: work out how many days of wear each person needs between washes, map the layers the job actually demands, then choose garments last. Teams that pick garments first almost always end up with a list that looks smart on paper and leaves people short by midweek.
Start From the Wash Cycle
The first number in a kit list is not how many people you have, it is how many days of clean uniform each person needs. Somebody working five days a week, washing at home, on a normal domestic laundry rhythm, needs enough shirts to get through the week without doing a mid-week wash specifically for work. Three is a two-day supply once you allow for one in the machine and one drying. Five is a working week with nothing spare. The honest number for most roles is higher than the one proposed in the first meeting.
The environment shifts it further. Kitchen, workshop and outdoor roles get through garments faster and often need a change mid-shift. Desk-based roles need fewer. Ask the people doing the job rather than assuming.
Map the Layers to a Real Working Day
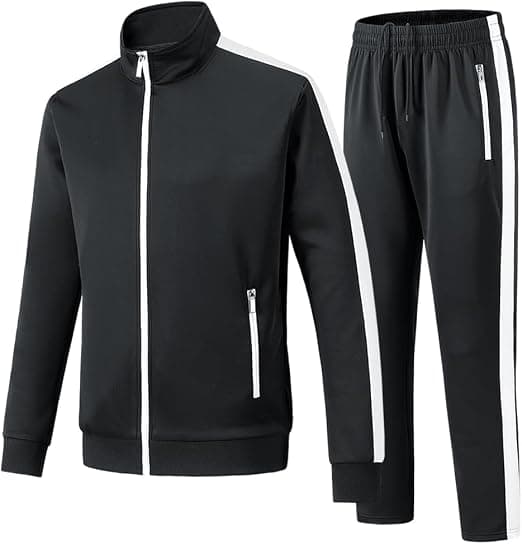
Walk through a typical day in your head and note every point at which somebody would put something on or take something off. Arriving in the cold. Moving between a warm building and a yard. An afternoon that turns wet. Each of those is a layer, and each layer is a line on the list.
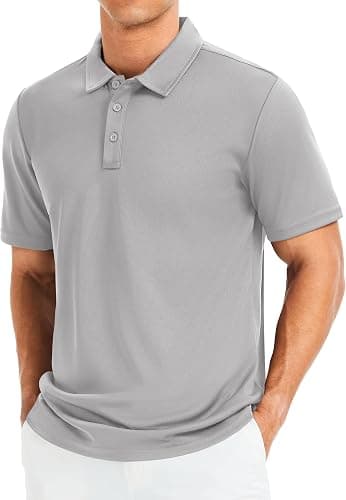
The common failure is buying only the middle layer. Teams order polos and a fleece, then discover the fleece is being worn as a coat because there is no coat, which means it is soaked, faded and out of shape within a season. If the role goes outdoors, the outer layer is not optional even though it is the most expensive line on the list.
Split Core From Optional Deliberately
Not everything on the list should go to everyone. Core kit is what every person gets automatically. Optional kit is available on request, and the distinction saves real money, because a proportion of any team will never wear the cap, the beanie or the gilet however keen the person writing the list was about them.
Under-buy the optional items on the first order on purpose. You will learn within a season what people actually use, and the second order can correct it. Over-buying the optional range at the start is how organisations end up with a cupboard full of branded caps.
Every Line Needs the Same Fields
A kit list that is just a bulleted list of garment names will not survive its first reorder. Write it as a table where every line carries the same information.
- Supplier garment code, not a description like navy polo.
- Colour name and colour code exactly as the supplier writes them.
- Quantity per person, and whether the item is core or optional.
- Decoration method and position, measured in millimetres from a fixed seam.
- Logo width, and the thread or ink reference used.
Choose Decoration Per Item, Not Per Team
It is tempting to pick one method and apply it everywhere. That produces poor results, because the methods do genuinely different jobs. Embroidery is the durable choice for polos, fleeces and outerwear and reads as considered, but it needs fine detail and small text simplified and it can pucker on lightweight jersey. Screen printing is the workhorse for tees at volume, with setup charged per colour. DTF handles detailed full-colour artwork on shorter runs without per-colour setup. Sublimation works only on polyester and only on light bases, so it belongs to sports kit and all-over designs rather than general uniform.
Decide per garment, note the decision on the kit list line, and you will never have the same argument twice.
Fewer Colours Is Cheaper and Looks Better
A single garment colour across the range keeps the whole run together, keeps the logo treatment consistent, and stops you fragmenting an order that has to clear a 50-piece minimum. Introducing a second colour for a subgroup splits the quantities and gains very little. If you genuinely need to distinguish roles, do it with a small line of text under the logo rather than with a different garment, because that keeps the run intact and the setup shared.
“"Count the wash cycle before you count the people. A kit list built on headcount alone always runs out on a Thursday."”
Cost It Per Person
This is the number that matters and the one nobody calculates until it is too late. A list can look modest item by item and be expensive per head once you multiply five polos, two fleeces and a coat together. Work out the total for one person, multiply by headcount, and only then decide whether the list is the right shape. Very often the answer is to trim the optional range rather than downgrade the core garments, because the core is the part people wear every day and see every day.
The free instant price calculator makes this straightforward to test, since you can change garment, method and quantity and watch the number move rather than waiting on a quote to discover whether the list is affordable. It is also worth checking what happens as quantity rises, because bulk discounts reach up to around 35% and a list that looks out of reach at one headcount can be viable at another.